How to Install Oracle VirtualBox On Ubuntu 16.04 Headless Server
This tutorial walk you through how to install Oracle VirtualBox in Ubuntu 16.04 LTS headless server. Also this tutorial describes how to manage the VirtualBox headless instances using a phpVirtualBox, a web-based front-end tool for VirtualBox. The steps described below might also work on Debian, and its derivatives.
Prerequisites
Before installing Oracle VirtualBox, we need to do the following prerequisites in our Ubuntu 16.04 LTS server.
Update the Ubuntu server as shown below.
sudo apt-get update
sudo apt-get upgrade
sudo apt-get dist-upgrade
After updating the Ubuntu server, install the following necessary packages:
sudo apt-get install build-essential dkms unzip wget
After installing all updates and necessary prerequisites, restart the Ubuntu server.
sudo reboot
Install Oracle VirtualBox on Ubuntu 16.04 LTS server
Add Oracle VirtualBox official repository. To do so, edit /etc/apt/sources.list file:
sudo nano /etc/apt/sources.list
Add the following lines. Replace the word ‘xenial’ by ‘vivid’, ‘utopic’, ‘trusty’, ‘raring’, ‘quantal’, ‘precise’, ‘lucid’, ‘jessie’, ‘wheezy’, or ‘squeeze‘ as per the distribution you use.
Here, I will be using Ubuntu 16.04 LTS, so I have added the following repository.
deb http://download.virtualbox.org/virtualbox/debian xenial contrib

Add VirtualBox repository
Then, run the following command to add the Oracle public key:
wget -q https://www.virtualbox.org/download/oracle_vbox_2016.asc -O- | sudo apt-key add -
For VirtualBox older versions, add the following key:
wget -q https://www.virtualbox.org/download/oracle_vbox.asc -O- | sudo apt-key add -
Next, update the software sources using command:
sudo apt-get update
Finally, install latest Oracle VirtualBox using command:
sudo apt-get install virtualbox-5.0

Install Oracle VirtualBox
Adding users to VirtualBox group
We need to create and add our system user to the vboxusers group. You can either create a separate user and assign it to vboxusers group or use the existing user. I don’t want to create a new user, so I added my existing user tho this group. Please note that if you use a separate user for virtualbox, you must log out and log in to that user and do the rest of the steps.
Since my existing username is sk, I ran the following command to add it to the vboxusers group.
sudo usermod -aG vboxusers sk
Now, run the following command to check if virtualbox kernel modules are loaded or not.
sudo systemctl status vboxdrv

For older Ubuntu versions, run:
sudo /etc/init.d/vboxdrv status
If the virtualbox module doesn’t start, run the following command to start it.
sudo /etc/init.d/vboxdrv setup
Great! We have successfully installed VirtualBox and started its service.
Install VirtualBox Extension pack
Now let us install Oracle VirtualBox extension pack. This Extension pack provides the following functionalities to the VirtualBox guests.
- The virtual USB 2.0 (EHCI) device
- VirtualBox Remote Desktop Protocol (VRDP) support
- Host webcam passthrough
- Intel PXE boot ROM
- Experimental support for PCI passthrough on Linux hosts
Download the latest Extension pack for VirtualBox 5.x from here.
wget http://download.virtualbox.org/virtualbox/5.0.24/Oracle_VM_VirtualBox_Extension_Pack-5.0.24-108355.vbox-extpack
Install Extension pack using command:
sudo VBoxManage extpack install Oracle_VM_VirtualBox_Extension_Pack-5.0.24-108355.vbox-extpack

Install VirtualBox extension pack
Congratulations! We have successfully installed Oracle VirtualBox with extension pack in Ubuntu 16.04 LTS server. It is time to deploy virtual machines. Refer the virtualbox official guide to start creating and managing virtual machines in command line.
Not everyone is command line expert. Somebody might want to create and use virtual machines graphically. Don’t worry, Here comes phpVirtualBox in handy!
About phpVirtualBox
phpVirtualBox is a free, web-based front-end to Oracle VirtualBox. It is written using PHP language. Using phpVirtualBox, we can easily create, delete, manage and administer virtual machines via a web browser from a remote system.
Install phpVirtualBox in Ubuntu 16.04 LTS
Since it is a web-based tool, we need to install Apache webserver, PHP and some php modules.
To do so, run:
sudo apt-get install apache2 php php-mysql libapache2-mod-php php-soap php-xml
Then, Download the phpVirtualBox latest version from phpVirtualBox download page.
As of writing this guide, the latest version was 5.0.5.
To download it, run:
wget https://sourceforge.net/projects/phpvirtualbox/files/phpvirtualbox-5.0-5.zip
Extract the downloaded archive with command:
unzip phpvirtualbox-5.0-5.zip
Copy or move the extracted phvirtualbox folder to your apache webserver root folder.
sudo mv phpvirtualbox-5.0-5 /var/www/html/phpvirtualbox
Assign the proper permissions to the phpvirtualbox folder.
sudo chmod 777 /var/www/html/phpvirtualbox/
Next, let us configure phpVirtualBox.
Copy the sample config file as shown below.
sudo cp /var/www/html/phpvirtualbox/config.php-example /var/www/html/phpvirtualbox/config.php
Edit phpVirtualBox config.php file:
sudo nano /var/www/html/phpvirtualbox/config.php
Find the following lines and replace the username and password with your system user (The username and password which we created earlier in this tutorial).
In my case, my username is sk, and password is ubuntu.
var $username = 'sk';
var $password = 'ubuntu';

Edit phpvirtualbox config file
Save and close the file.
Create a new file called /etc/default/virtualbox:
sudo nano /etc/default/virtualbox
Add the following line. Replace ‘sk’ with your own username.
VBOXWEB_USER=sk
Finally, Reboot your system or restart all services to complete the configuration.
sudo systemctl restart vboxweb-service
sudo systemctl restart vboxdrv
sudo systemctl restart apache2
Access phpVirtualBox Web console
Now, go to your client system and open the web browser of your choice.
In the address bar, type: http://IP-address-of-virtualbox-headless-server/phpvirtualbox.
You should see the following screen. Enter the phpVirtualBox administrative user credentials.
The default username for phpVirtualBox is admin and its password is admin too.
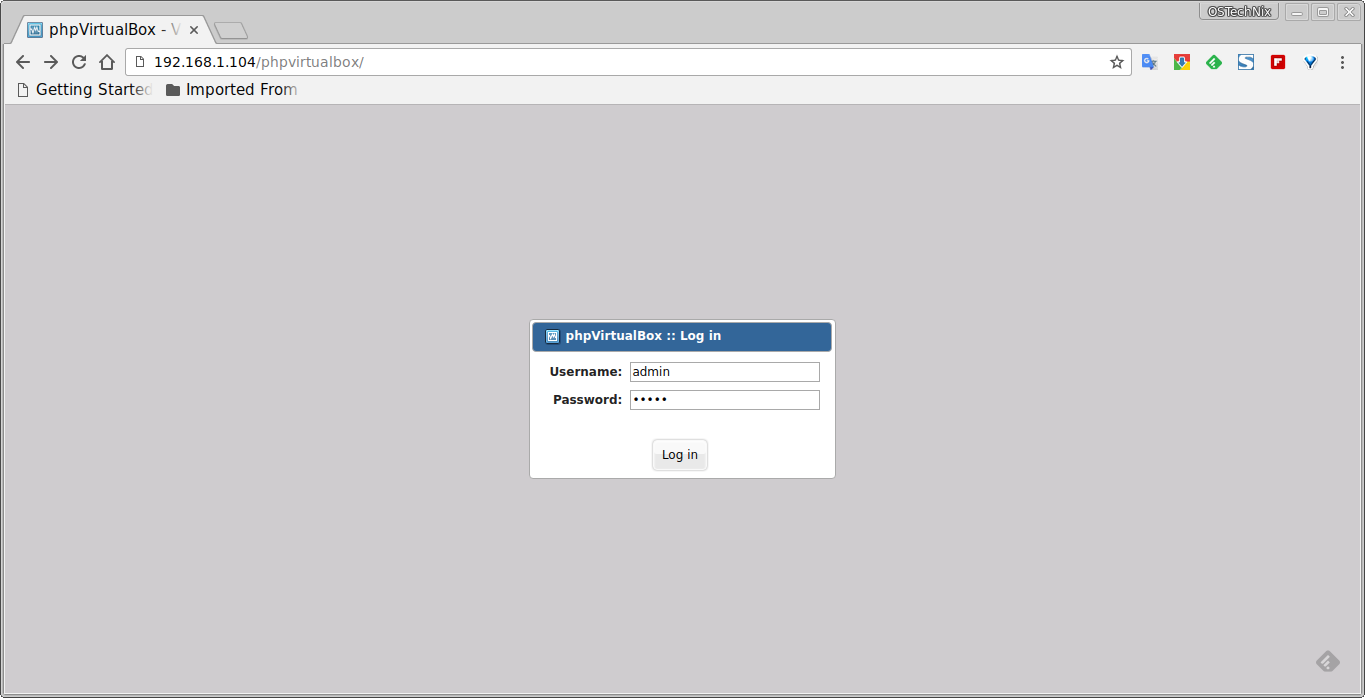
Login to phpVirtualBox console
Congratulations! You will be pleased with phpVirtualBox dashboard.
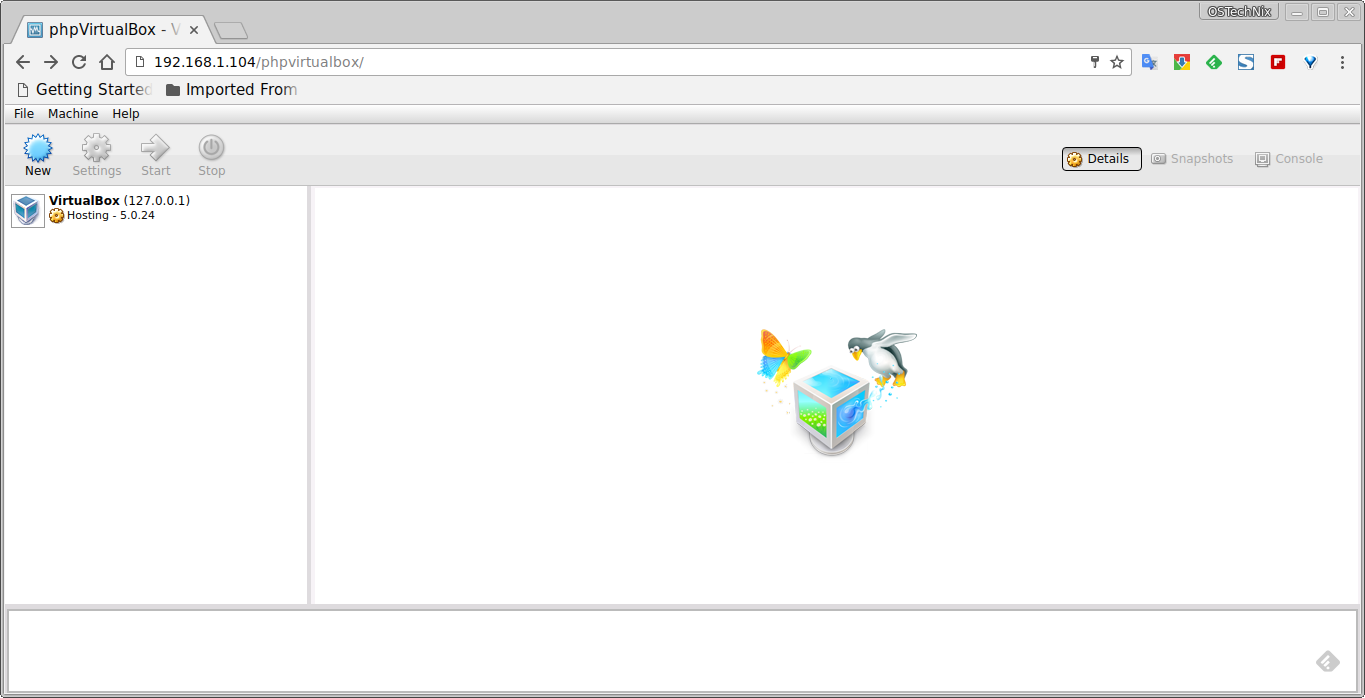
phpVirtualBox dashboard
That’s it. Now you can manage your VirtualBox headless instances from here. Also, You can access the phpVirtualBox from any system in the same network. All you need is a web browser and the username and password of phpVirtualBox.
Creating Virtual Machines from phpVirtualBox
To create a new virtual machine, just click New button on the top left corner.
Enter the guest machine name, choose type, and architecture etc.

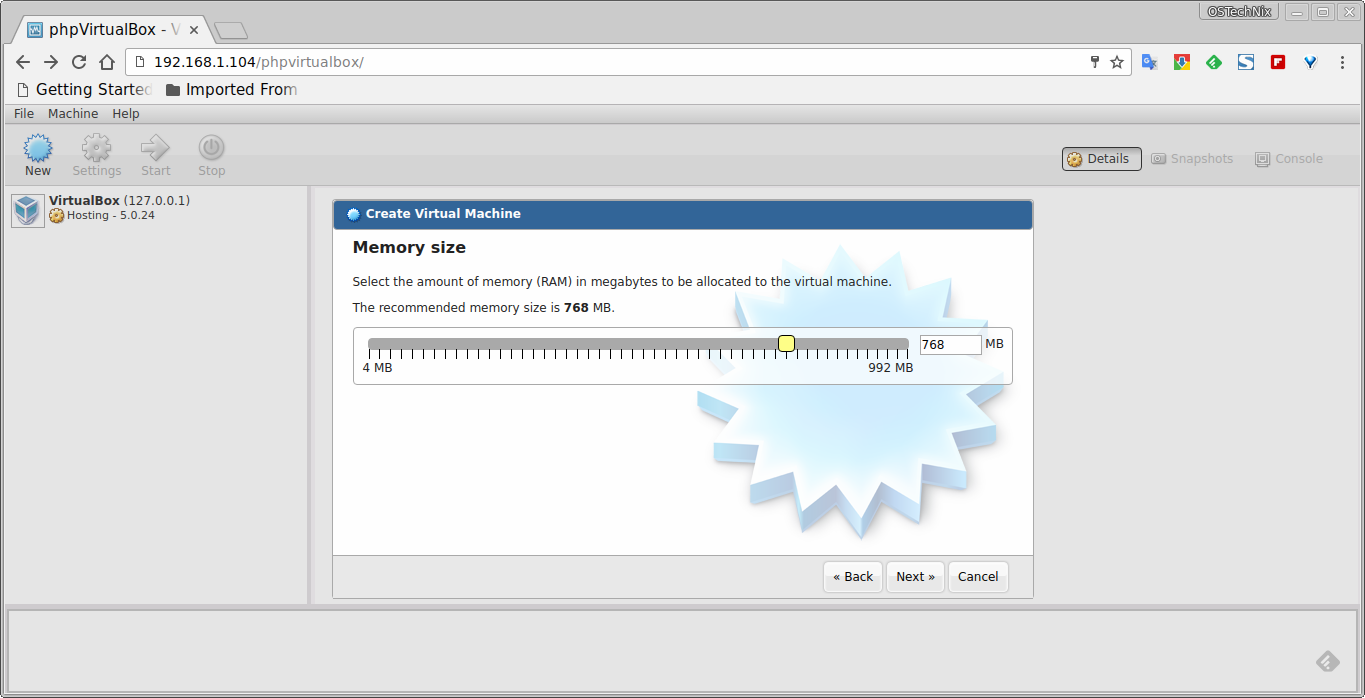
Enter the RAM size to the guest machine.
Next, add a virtual hard disk to the new machine. The default size is 8GB, however, you can change it if you want.
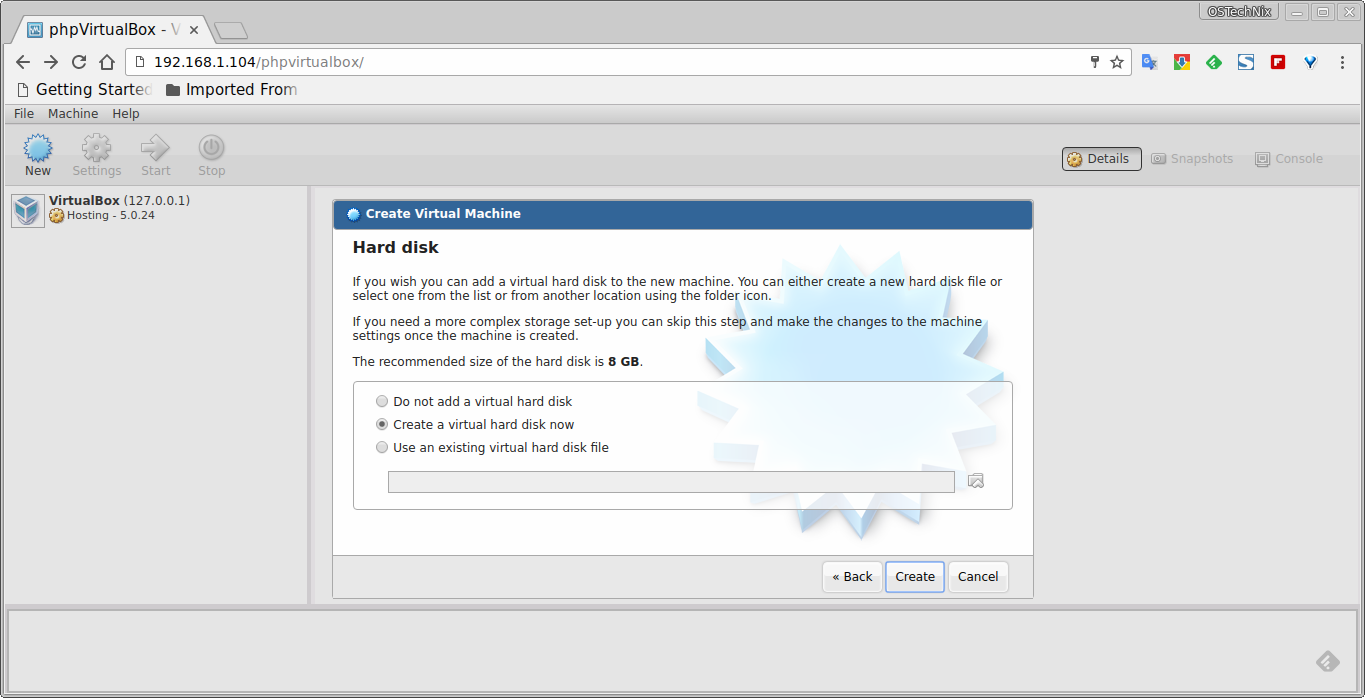
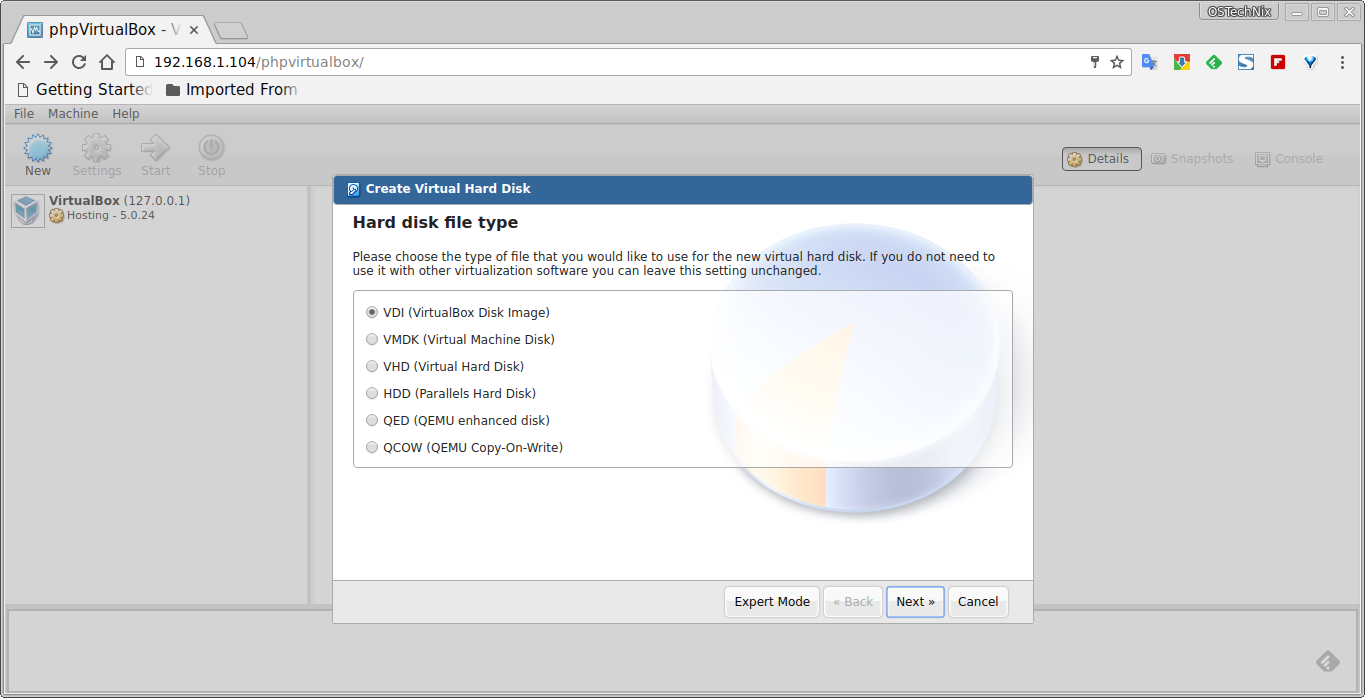
Select Hard disk type. I go with default values.
Choose whether the new virtual hard drive file should grow as it is used (dynamically allocated) or it should be created at its maximum size (fixed size).

Select the location to store the virtual machine. Also, you can change the virtual hdd size as per your requirement. Finally clikc Create.

That’s it. Guest machine has been created. Select the virtual machine from the main interface and click Start to install guest OS.